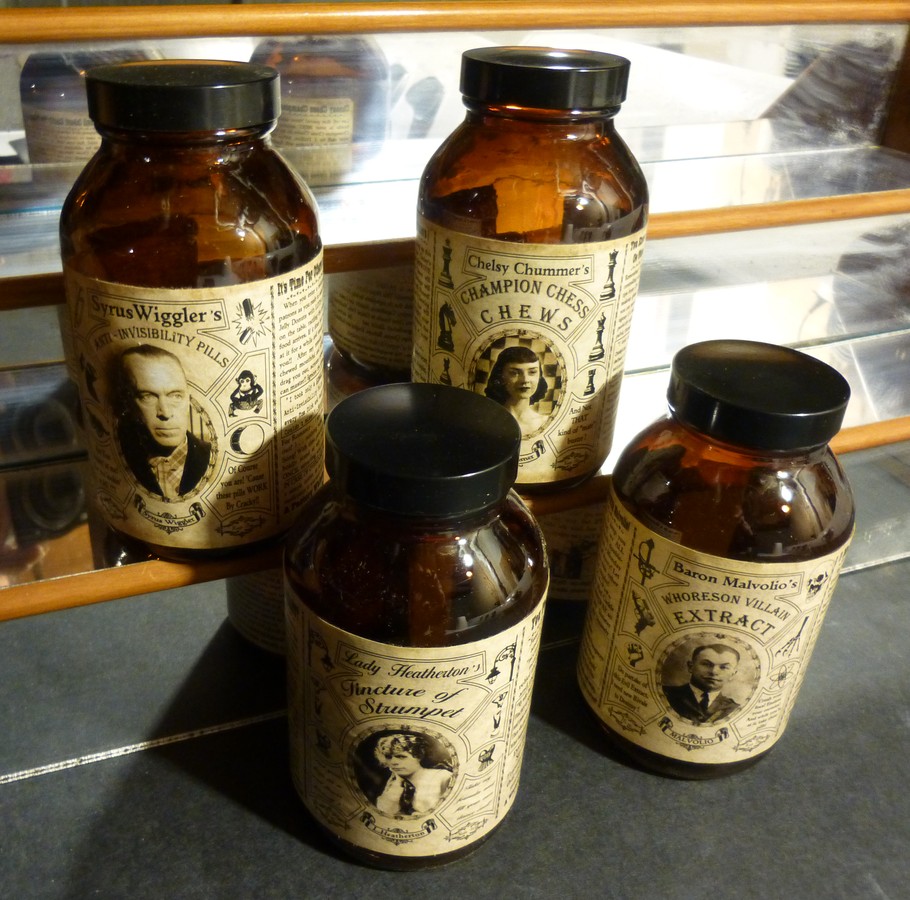
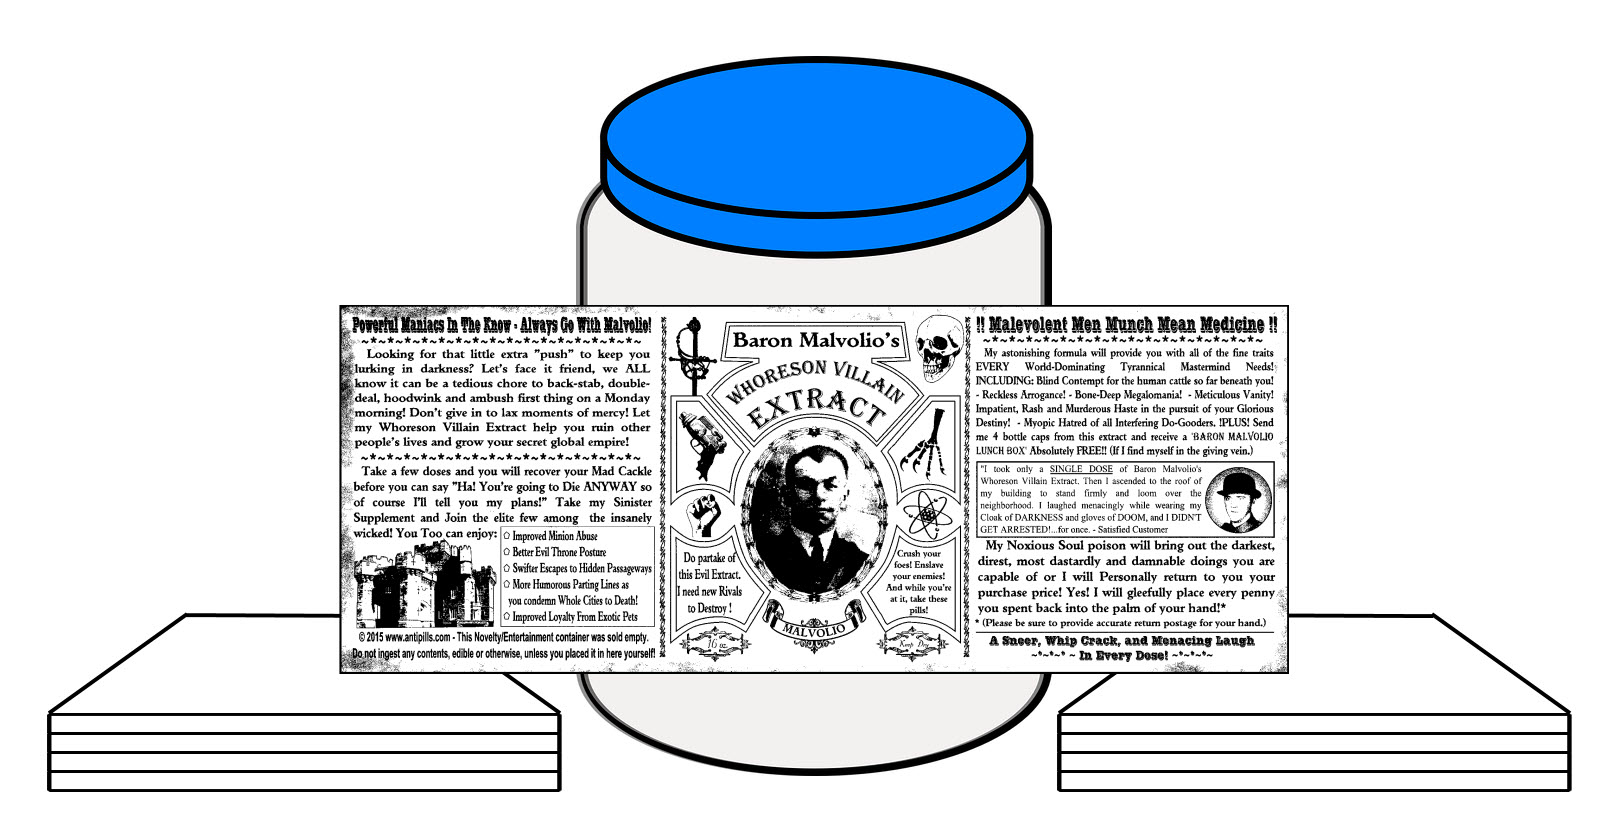
Create Your Own "AntiPills" Container!
Follow the steps and guidelines below to create BILLIONS* of AntiPills bottles of your very own!
* "Billions" may be an enthusiastic exaggeration. But if you have the time, the ink and such a massive supply of bottles....hey....who am I to judge?
Seriously, this ain't rocket science folks. If you're comfortable with arts and crafts and just want to slap a piece 'o paper on a jar, you can print your label on peel-n-stick paper and go to town. (Unless you're not RICH. In which case go to town and buy a bottle of rubber cement.) But if you want a super pro level of way too many instructions....Check'em out:
Here's what you'll need:
 Your Label File
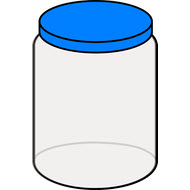 A Jar or Bottle
 Some Paper
 Anything to measure with
 A printer with ink in it
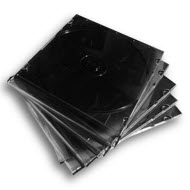 Something flat and stackable
 Foam Brushes
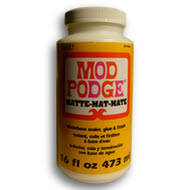 Paper Sealer
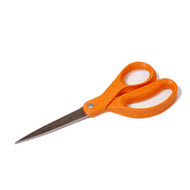 Scissors
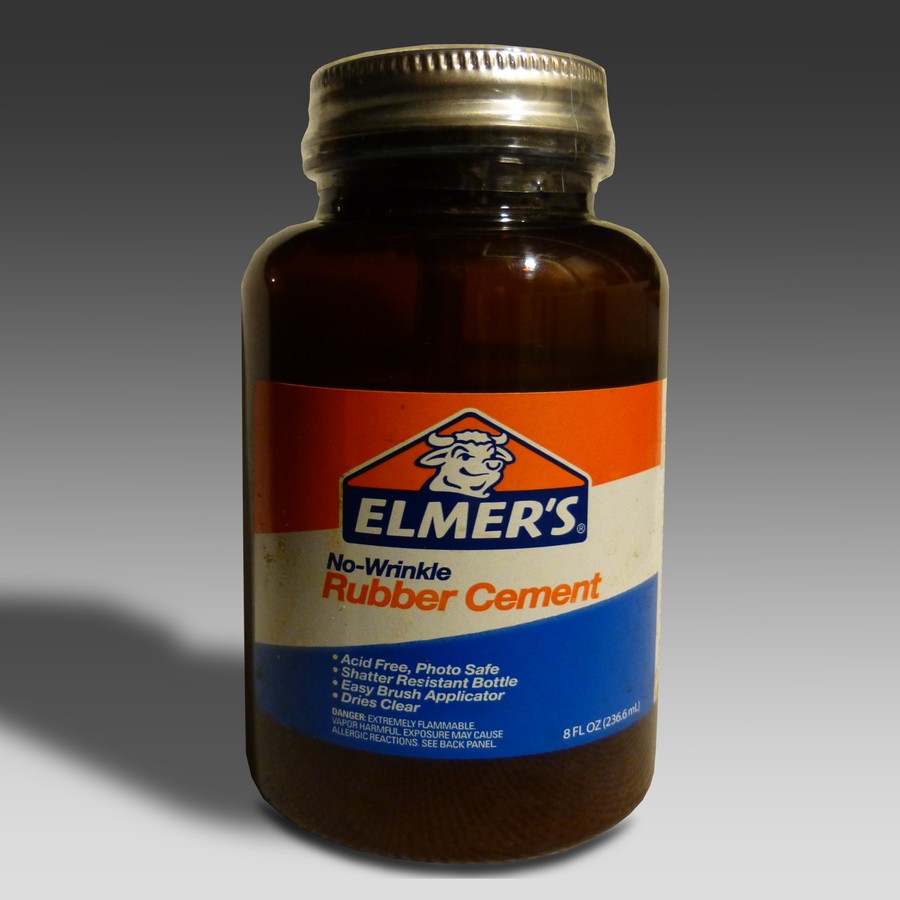
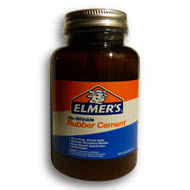 Rubber Cement
STEP 001 - Grab Those Electronziziz
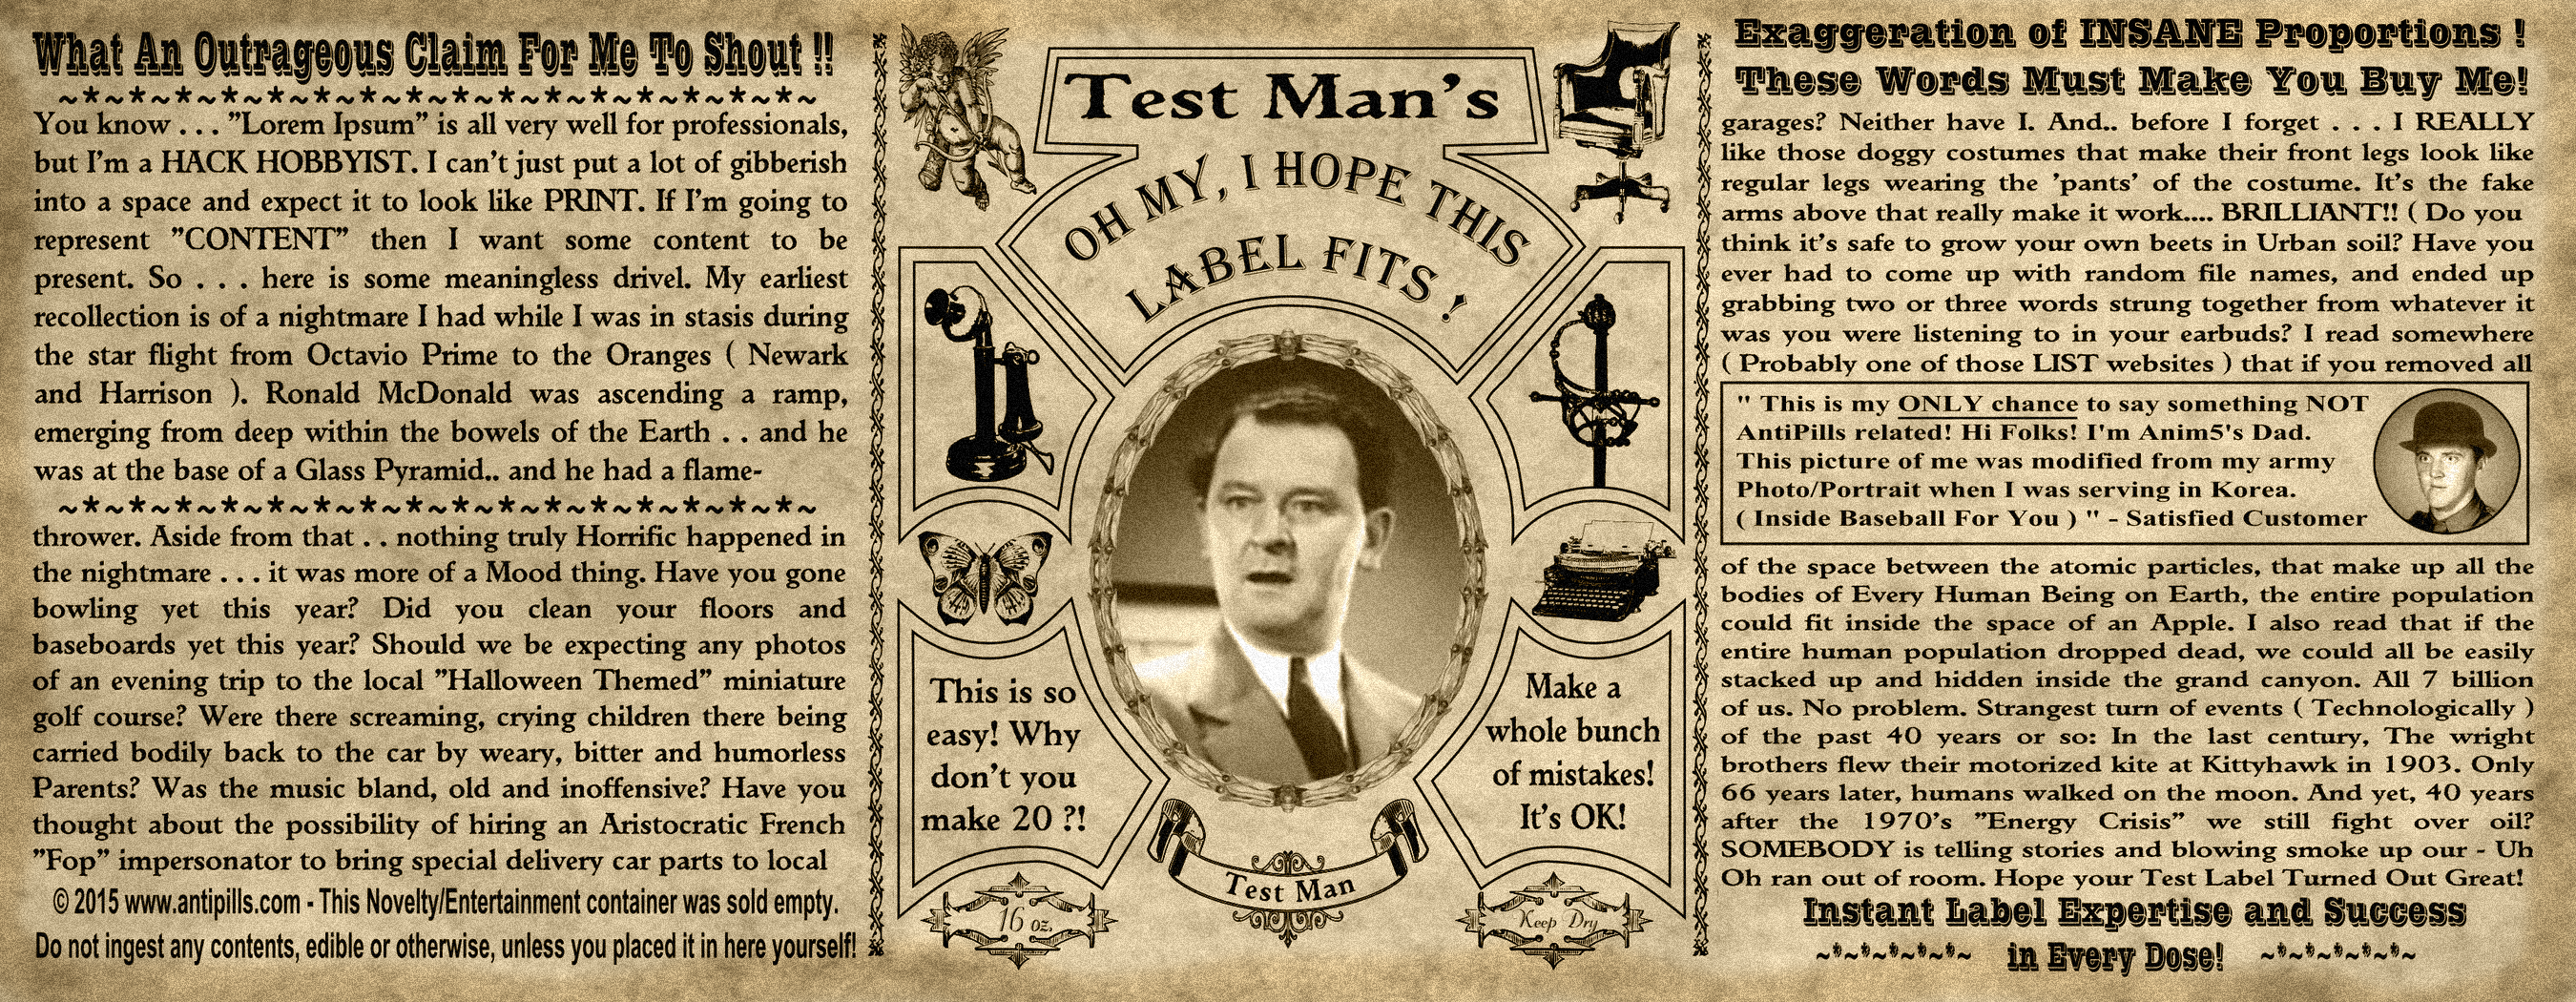
Download any AntiPills Label of your choice, or grab this
TEST LABEL
which is exactly the same size as all of the AntiPills labels.
Click the Link above or the Image of "Test Man" and use "Right-Click, Save-as" to get your Test Label when the BIG size finishes loading up in your browser.
(Google Search: Image Resizer)
A handy tip : Create a few "Back-Up" copies of your Label Files and put them somewhere Safe. ( Perhaps burn them onto a dvd and maybe upload copies to your personal favorite "cloud" vault)
Why play around with resizing by using the one, original file? That's Crazy Talk!
This is the label size of your download:
Height:
1050 pixels which is also 3-1/2 inches and also equals 8.89cm.
Width:
2700 pixels which is also 9 inches and also equals 22.86cm
Print resolution: 300 dpi - - The resolution of an image refers to the density of the printed dots that make up that image or graphic. The higher the resolution, the crisper and more detailed the image will be.

In a way, it's almost Over-Kill for these labels, since they’ve had filters and effects applied to make them look distressed and aged.
But . . . you may as well have a nice, information-rich graphic to start with, because the picture will need to be re-sized to fit YOUR Bottle.
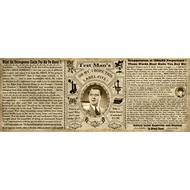
STEP 002 - Find the Jars or Bottles you're going to use.
I could not BEGIN to guess how many ways you could find containers
for your AntiPills label...
...but the simplest place to start is by having a look in your own kitchen or pantry.
Does it need to match the official "AntiPills" bottle size exactly?
Of course not. It just needs to be roughly close in its proportions.
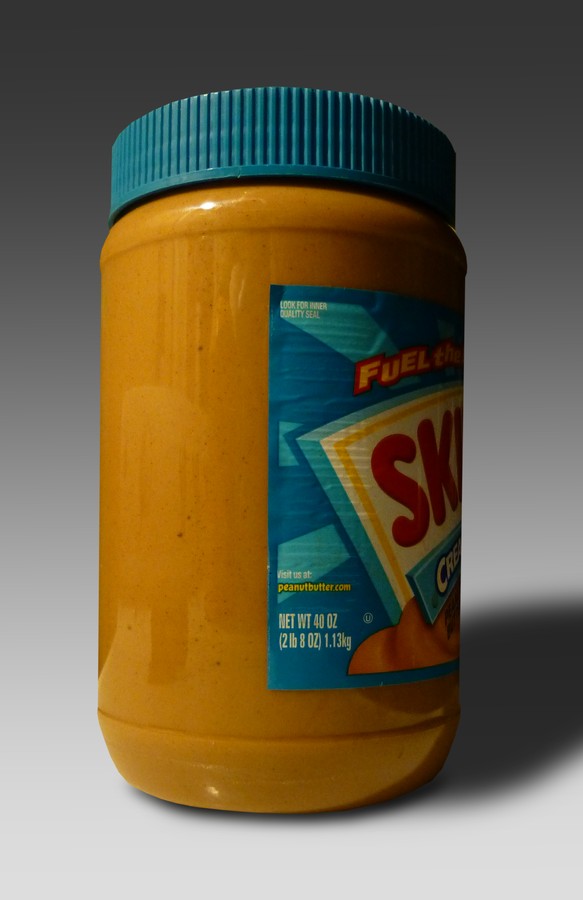
Likely candidates would include Jam Jars, Pickle Jars . . Peanut Butter tubs etc.
The bottom line is . . . only YOU will know what size container you would be happy with.

"But Anim5! I want to use the EXACT same bottles YOU use, so I don't have to re-size my labels at all!"
No problem! If you can order from ULINE and get those bottles shipped to you, You're all set. Here's the exact amber jar I use to make the AntiPills when I send out orders:
( Click the Bottle ).
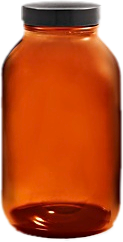
Amber Wide-Mouth Glass Jars - 16 oz
ULINE - Item Number S-20592
Store tablets, powders and
light-sensitive materials.
Wide mouth for easy access to contents.
Phenolic black caps included.
FDA compliant.
If you can obtain these bottles, you won't have to resize your downloaded labels at all and can skip straight to Step 005. If you can't, read on . . .
Try looking online for Industrial/Wholesale Container Suppliers closest to you or visit a local flea market or thrift store. You might find something perfect for your needs.
While you're searching and testing, given the choice, select a fat bottle over a thin one.
Next, and VERY IMPORTANT . . . Be sure the Jar or
Bottle has straight vertical sides.
( Not wider or narrower at the top or bottom. No "Taper" )
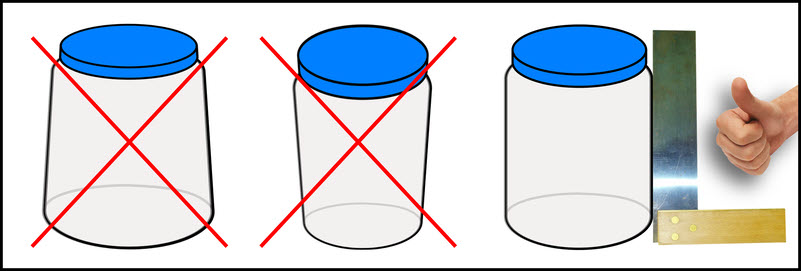
A jar or bottle that's wider at the top or bottom will wreak havoc on your attempts to
get a rectangular label applied.
The ends will curve up or curve down in a weird way and
end up looking Awful. Go for straight-up-and-down sides.
'Got the container you want to test out ? Excellent ! Time for . . .
STEP 003 - Working Out Your Label Size
(The most popular U.S. paper size is the "Letter," the familiar 8.5" x 11" used in all offices across America.
It's also known as "A" size. Its European counterpart is A4, which is close: 8.3 x 11.7 inches or 210 x 297 mm.)
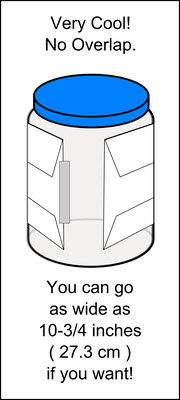
Turn the sheet on its side and fold it against the face of the container so that it's about as tall as you think your final label should be.
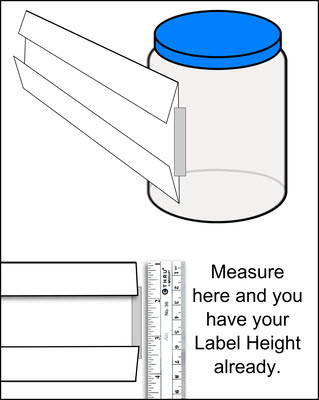
Depending on the container you're testing, the edges of the paper may not meet up at all.
That's good news. It means you won't have to "squish" the width of your label.
And since you know the copy paper is 11 inches tall, you can go as wide as 10-3/4" ( 27.3 cm) with your label. Hopefully.. The Height will work out too.
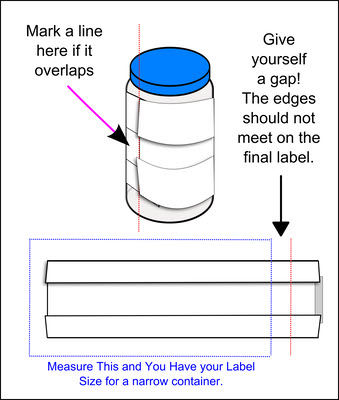
If the edges DO overlap, then mark off where the end of the paper touches, and then give yourself about a thumb-width gap
( no need for rocket science accuracy here, seriously )
and draw a straight line vertically.
Cut the paper along that line and Voila! This is your Test-Label size!
STEP 004 - Re-Size a Copy of Your Label Image To Fit Your Bottle
I'll call it 4 inches by 10-3/4 inches ( 4 x 10.75 if some paint program asks ) I don't want to resize my image to 11 inches, 'cause that's too wide to PRINT on.
10-3/4" at least allows 1/4inch (0.635 cm) before the edge of the paper.

"Close enough" actually WORKS for a comedy item. And remember, this is a TEST. You can print as many shapes or sizes as you feel you need to on any number of bottles or Jars until you find the sizes that are just right. So . . .You'll need to open up a copy of your label image and re-size it to the dimensions you came up with using your container.
I can think of three ways you can re-size your image :
Look for one that let's you save your result at 300dpi in the .PNG ( portable network graphic ) format. PNG is not perfect for Print, but it is a lossless image compression format and it won't degrade a picture as fast as the .JPG format will after a lot of editing and re-saving. If you run into a site that asks for "Pixels" as a measurement, no worries. There are a bunch of online pages that will do those calculations for you as well. Google search: "inches to pixels" or "centimeters to pixels", and they'll pop up like prairie dogs on pixie stix.
Google Search: "Paint.net" - A very good, free paint program. Simple and easy to use.
Another place to look for free and simple image re-sizers is CNET Downloads.
Being able to use your own program for this means you get more skills and you unlock the...
"Anim5 must think no one knows how to do this stuff but him. Who does he think he's talking to?"
...achievement. 😀
" If you re-size this file of mine - I'll give you a Trillion Billion Diamonds, a Captured Unicorn Soul, a Space Ship and . . .
TWO metal cans of 12-year-old spackle putty that I found rusting in my garage! For Realz! "
STEP 005 - Print Out the Image
Set your Print orientation to "landscape".
Print the label out at "Normal" quality. (That's what I do. When I try printing at 300dpi on my little HP inkjet, the thing throws agony fits and I get "banding" lines. So I print the pics out at 150dpi "normal" quality and they turn out just fine.)
Another Tip: If you're handy enough with your graphics program, and your final label size allows it, try putting two labels on the same sheet. It will save time and paper.
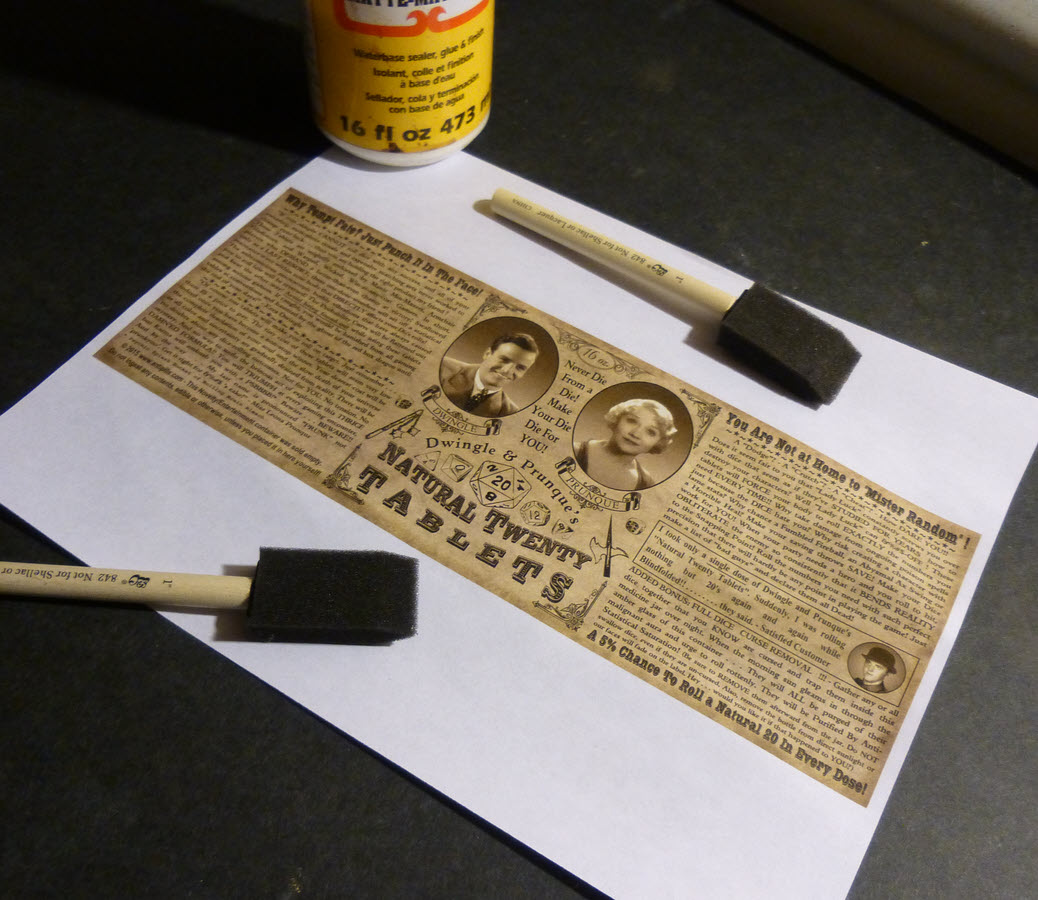
STEP 006 - Seal Both Sides of Your Label BEFORE You Cut It Out

After waiting about ten minutes for the ink to dry completely, I hit the print with a couple of sweeping shots of
high-quality hairspray as a fixative.
This may be an optional step for you depending on the quality of your printer. But I've found it helps keep my print from streaking or smearing when I brush on the sealant.
A light, even coat of high-quality hairspray prevents this.
( I recommend high-quality hairspray because cheap hairspray does not "mist" well. It has a poorer chemical binder and a more caustic carrier/solvent.
You may even end up with a 'spatter' pattern of discoloration on your print rather than a smooth initial sealing coat.
Do yourself a favor and get quality hairspray for this if you're going to try it.)
Next, make the label more durable and water resistant by applying the sealer.
I use a popular "scrap-booking" sealant called 'ModPodge'.
It's non-toxic, water-based and it won't make your AntiPills bottle smell like a
furniture repair shop or gas station the way oil-based or polyurethane based sealers will.
( I've done many home-made gifts over many years . . and the MOST embarrassing ones
are the projects that smell like "Pine Goo" when they're unwrapped. Don't use oil or polyurethane
sealers for this. The gloss and protection may be grand, but if you have to wait 6 months for
your Bottles to stop stinking . . . It's just not worth it! )
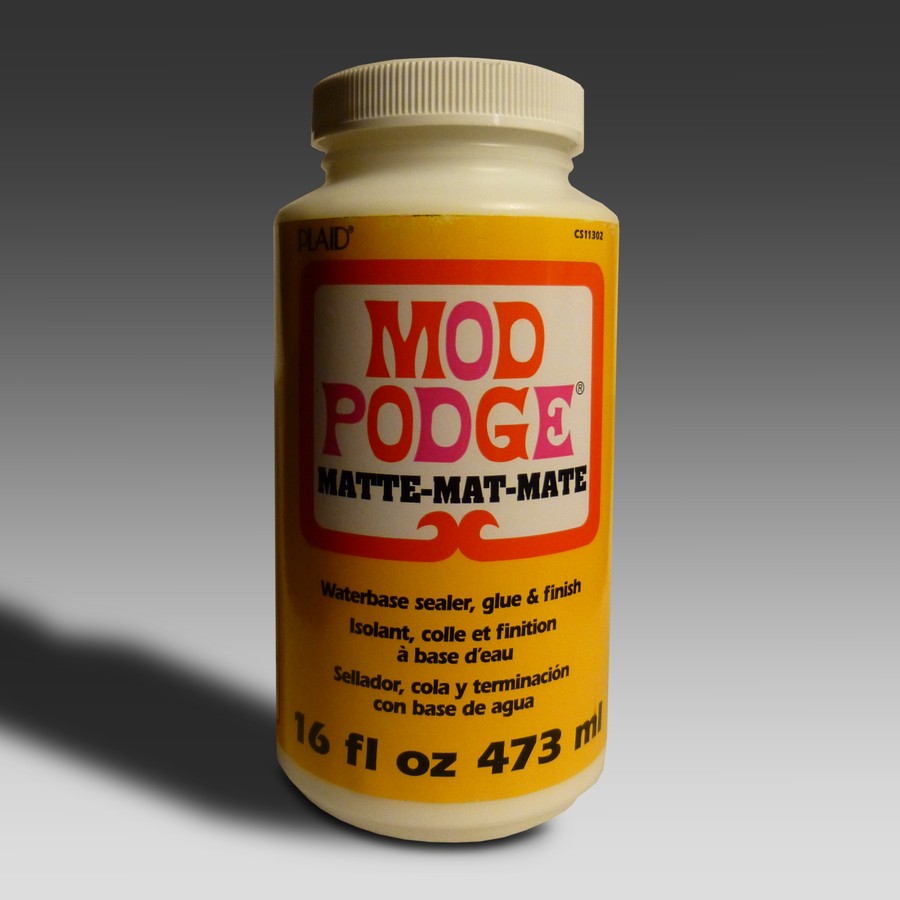
I prefer the Matte finish version of Modpodge, but you may want to try the
Glossy finish version just to see if you like it better. Or . . . You may have a scrap-booking
paper sealer that you SWEAR by and use all the time that I've never heard of. 🙂
Use that then, obviously. And please send me a note about what it is.
Brush on a single, thin coat of Modpodge, or your clear-drying
paper sealant of choice, and let the Label sit for an hour. ( I let the Label sit overnight to
cure and dry thoroughly, but I don't think you have to really wait that long ).
Next, Do the same on the reverse side. ( Yes . . . coat both sides. You'll be using
Rubber Cement to glue the Label to your container . . . and Rubber Cement can
leach into your printed image from the back causing a "bleach" effect if the paper isn't sealed.
I found that out the hard way.)
Once Both sides of your printed label are dry, carefully cut it out and set it face-down on a clean surface.
I usually set it down on wax paper since the next step is...
STEP 007 - Glueing the Label to Your Container
Rubber Cement has a very strong odor and should only be used in a well-ventilated area.
Its disadvantage is the strong and possibly Dizzying smell.
( If you can, get a fan blowing on you when you use this stuff.)
Its advantage is that you don't have to work fast with it and it adheres paper to glass or plastic like a champ!
Try to brush a little past where you know the label is going to be positioned... be wide and sloppy with it! This is part of what will take care of the edges . . . you'll see.
Next, a THIN coat of rubber cement for the entire back of the Label also. Be sure you get some on the edges all the way around. ( Brush PAST the edges onto the wax paper ) Now.... wait about 5 minutes. ( You could actually wait for an hour if you needed to... this stuff would still work.)
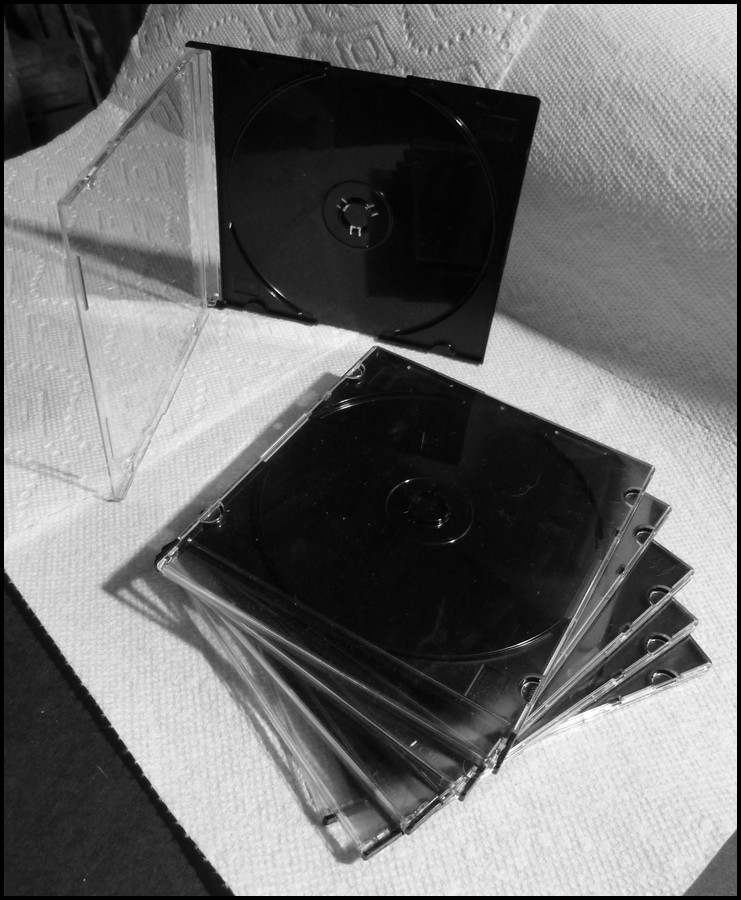
Look for items you can use that will stack next to your bottle and remain flat.
I use thin CD jewel cases.
Stack them next to your container so that a single pile comes up to the point on the container where the bottom edge of the label should be.

Balance the Label upright with the outer ends resting on the stacks.
Run your finger gently up the center of the label.
At this point, it's all over but the "smoothing".
Set your thumb against the portrait and gently, but firmly sweep it back and forth over the Label, letting it wrap and fall and follow the curve of the container all by itself.
When you reach the edge, leave it and smooth the other half of the label down.
Now return to the edges of the Label and smooth your thumb out onto the glass or plastic.
Set the Container aside for another five minutes or so.
When you come back to it, you can firmly smudge your thumb out and away from the label's edges, clearing the glass or plastic of the glue.
The Rubber Cement has dried more thoroughly where it was exposed to air . . . and the resulting "Crumbs" can be easily brushed off.
Give the Bottle or Jar a light once-over with a cloth or paper towel, Unscrew the top, fill it with some candy. Smile.
STEP 008 - Be the best YOU and Share the Fun!
Make birthday gifts - House warming presents - Decorative Door Prizes
The very kindest thing you could do would be to send this link to your friends. If you think they
would have fun with these labels....Please do.
I do ask that you leave the content of each label INTACT. Especially the Site URL and "Ingestion Warning".
It's the only 'signature' I've placed on these labels and it's very important to me that it stays where it is.

I hope you DO! That would be Fantastic! Take pictures of your booth and send'em along! If I lived anywhere near fairs or markets that were held regularly, I'd be doing it myself 🙂 but, again . . . PLEASE leave my label content intact, especially the ingestion warning and site URL www.antipills.com It's the only "credit the artist" notation I ask for.
"But Anim! What if I want to make LOTS of jars and
bottles and sell them at my local flea-market or craft fair?"
Go for it! 🙂
Take Video! Don't simply display the bottles. Perform them! Please send me a copy! Selling bottles you've made yourself at local fairs or shops does not compete with me in any significant way, and you would be doing me the added favor of spreading the word about this site! 🙂
Online selling of AntiPills bottles and Label Files actually DOES compete directly with me using my own product, so . .please don't do that.
I'd have to retain a law firm and send a "cease and desist". It would get all expensive and ugly and unhappy, why bother?
However . . .
" Can I make AntiPills Bottles with your labels, and sell
them online from my own site? Or on Amazon or Etsy? or Craigslist?"
No.
What I WOULD recommend . . is that you run with the idea of selling Original Faux-Vintage labels and bottles, but use Your Own words and Designs. THAT would be very cool! If you're a graphics design PRO you could rock out WAY better labels than mine! If you do that Send me the Link to your site once you're up and running... and I'll post your link on my site when I see my link on your site. Win/Win !
I hope you now feel confident enough to try making an AntiPills Bottle of your own
by making use of these instructions. If you feel I've left anything out, PLEASE send me an
email info@antipills.com and I'll be sure to write you back and answer what I Can. 🙂
Thank you for trying out your own printed AntiPills Labels!
copyright © 2016 - 2022 AntiPills.com - Label Instructions - Edition 001